Canvas Frame Install

BRAZO

New member
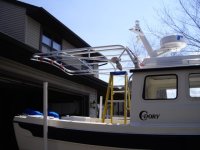
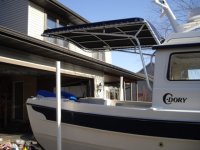
Well, today I brought the boat home from storage and began the install of our canvas frame / cockpit cover. I made some good progress today, but the plan is to take it slow and easy and do it correctly.

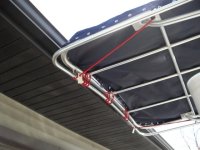
I backed the boat up in the driveway and stopped with the stern just under the rain gutters on the garage. I then used the rain gutters to hold up one end of the frame -- worked great so far.

Tomorrow I'll start drilling some holes...

Here are some of the pictures:
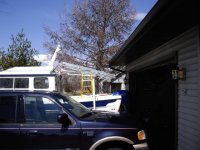


2009_Cruise_075.sized.jpg

2009_Cruise_077.sized.jpg

2009_Cruise_087.sized.jpg

2009_Cruise_093.sized.jpg
 
Well, after waiting an extra day to allow the epoxy to dry (with the help of some "mounted" hair dryers running for 12 hours straight), I have the canvas frame mounted on our CD22.

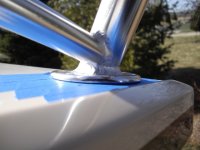
After finding the perfect fit for the frame, I then drilled the holes and mounted the frame to the boat. Once I was satisfied with the fit, I took the frame off.

I then drilled out the coring using a 5/8 drill and filled all the holes with West System epoxy. Because we live in Wisconsin and our days/nights are still cold -- it took many hours of multiple hair dryers to cure the epoxy.

I then used 5200 and bolted the frame to the boat. It was amazing how perfect the "feet" of the frame sat on the boat. The other day I figured that one of the feet would need to be shimmed about 1/8" - but after bolting the frame to the boat, all the feet sat perfect on the boat. This is pretty amazing considering that the fabricator is 1500 miles from us and did not have our boat for measuring. Thanks to Roger on C-Lover, Blue Coral Towers (http://www.bluecoraltowers.com/index.htm) used his boat to measure for fabrication.

So, I now have the bimini frame that I desired thanks to Roger's design and help.

2009_C_Dory_Canvas_Frame_036.sized.jpg
 
Back
Top