I'll post a few of the photos I made in explaining the technique. This is a suppliment to the link which Capt. Matt posted, and I suggest that you read that also.
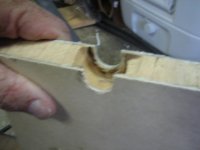
The hole is drilled or cut with a hole saw (or may already exist). The edges are routed out, with a Dremel tool, or short bent piece of coat hanger, or allen wrench chuckedd in a drill. I keep several of the Dremel tools, since they are so handy for all sorts of things.
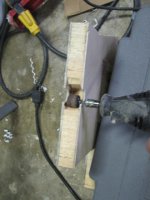
This shows the hole being sanded smooth with a small drum sander
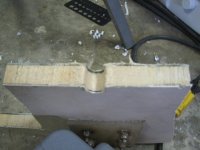
Now the hole has been filled with epoxy, and smoothed at the diameter of the thru hull or deck fitting.
This a an oversized hole drilled in the deck, which will then be filled with epoxy filler paste. The paste is mixed with epoxy resin, 50% Cabosil (fumed silica) and 50% high density filler. The sides of this hole are also undercut to give strength to the repair and prevent it from pulling thru the deck.
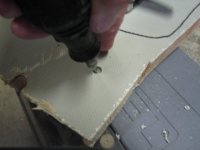
Dremel tool with cutter bit (about 1/4" diameter inserted into the hole to cut out core.
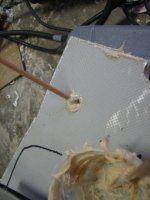
Popsicle stick cut in half to push epoxy paste into the hole under cut edges.
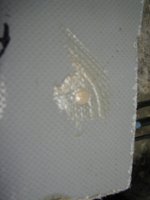
Final hole filled, and ready to have a new pilot hole drilled in the epoxy filler, so a new screw can be attatched. The core is completely sealed, and there is far more strength for the screw to hold, than the thin fiberglass laminate.
Disclosure: No C Dories were destroyed or harmed in making these photos. This is a deck section out of a 27 year old Peterson Sailboat which we cut up for some of our ultrasonic bond tester studies. We found no moisture in the Balsa cored deck of this boat, despite almost 3 decades of heavy use. The C Dory deck and hull laminate is thicker and better build that this boat's deck.


