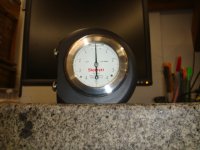
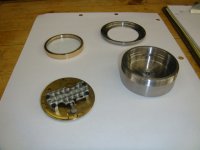
Some time ago ve mentioned this not too important but some what useful project. Some details were given of my intentions and some brats followed with dismissive questions. Some did not and showed a little interest.
Well, she is complete enough to show, while not mounted in the dash location till spring, you can get an idea of the final look. The 2 button head screws shown on the left will attach the gage to the right side of my chart plotter mount, which is right in front of my face.
The pendulum allows .002 of motion in either direction and on a tenth indicator this is bunch. .001 = plus or minus 30 degree's. I dont expect to use more then a couple tenths (.0000) each way.
The picture was placed in the detail section on this thread.
Martin


