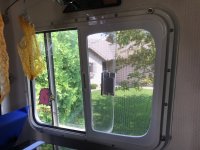
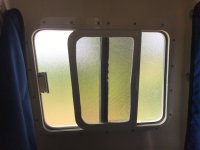
Window Screens on CD-25 Aft Windows

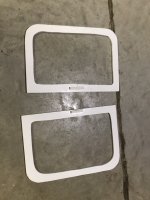
This is what I've accomplished so far. Next will be test fitting the frames in the boat, then installing the screen into the frame.

I purchased the frame channel from Menards. I made the round corners from some hard nylon plastic (starboard?) that I planed down to the appropriate thickness, and then cut out with my band saw. First I made a pattern from the window. These will be for the aft port window, and head window right across from it.
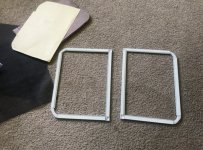
IMG_9786.jpg

If everything fits properly, I'll install the screens. At the corners, since there is no channel for the screen rope to go into, I'll hot glue the screen directly to the corner piece.
 
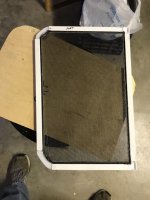
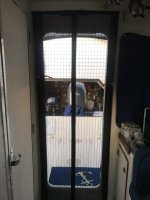
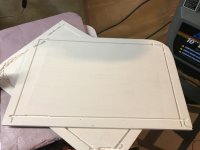
So I finally got the screens all finished up. The only problem is, they are a hair to thick. I think I'll try "pressing" them in my shop vice tomorrow to see if I can squeeze them down any. If that don't work, I guess I'm back to the drawing board. However, at least I have the plywood pattern for the exact size I need. Here are some photos of the finished product, along with a screen I made for the front middle window hatch, and for the main cabin door.

Aft screen with plywood pattern.
IMG_9792.jpg

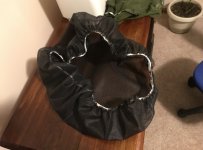
Front window hatch screen
IMG_9788.jpg

Cabin Door screen
IMG_9813.jpg

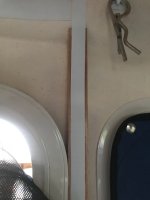
Small corner showing framing I installed around cabin door to velcro screen to
IMG_9815.jpg
 
Well, those aft window screens above went into the garbage can today. Wasn't able to get them to fit. And then repressing them in the shop vice pretty much ruined them anyway. However, with some left over PVC board, 1 x 12, I cut some new frames. Actually ended up pretty decent. Some day I'll perfect them as the rounded corner on the bottom is almost a little to small. However, for now they work quite well all things considered. Photos below, but here's the steps I took:

1-cut the board to the proper dimensions.

2- planed down the 3/4" pvc board to 1/4", to fit in the window track.

3- routed out a small groove where the screen retainer rope would fit.

4- cut out the inside material leaving just the screen frame.

5- pvc glued a small finger bracket to slide the screens and to also help glue the frame back together where my bandsaw passed thru.

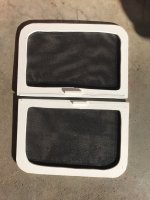
6- installed the screen into the frame.

7- to strengthen the frame just a bit more, especially since it's bowed a little bit, I cut a piece of the earlier screen frame making material to glue to the back edge of the screen frame. (Just used a little bit of some 5200 I had left over).

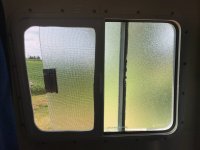
8- will install the screen/frame into the window track as soon as I get the weather seal (bug seal) along the back edge of the frame to stay stuck on. May need to add some kind of spring material to the top of the frame to help keep it in the track, but for now it seems to work without a spring.

Main frame material cut out, planed down, and groove routed for screen rope.
IMG_9825.jpg

Screen frame excess material cut out leaving just the frame.
IMG_9829.jpg

Finished screen and frame.
IMG_9831.jpg
 
Back
Top